Smart TV Ambient Lighting Setup Guide: The 2026 Cord Cutter's Secret Weapon for Eye Comfort and Immersion
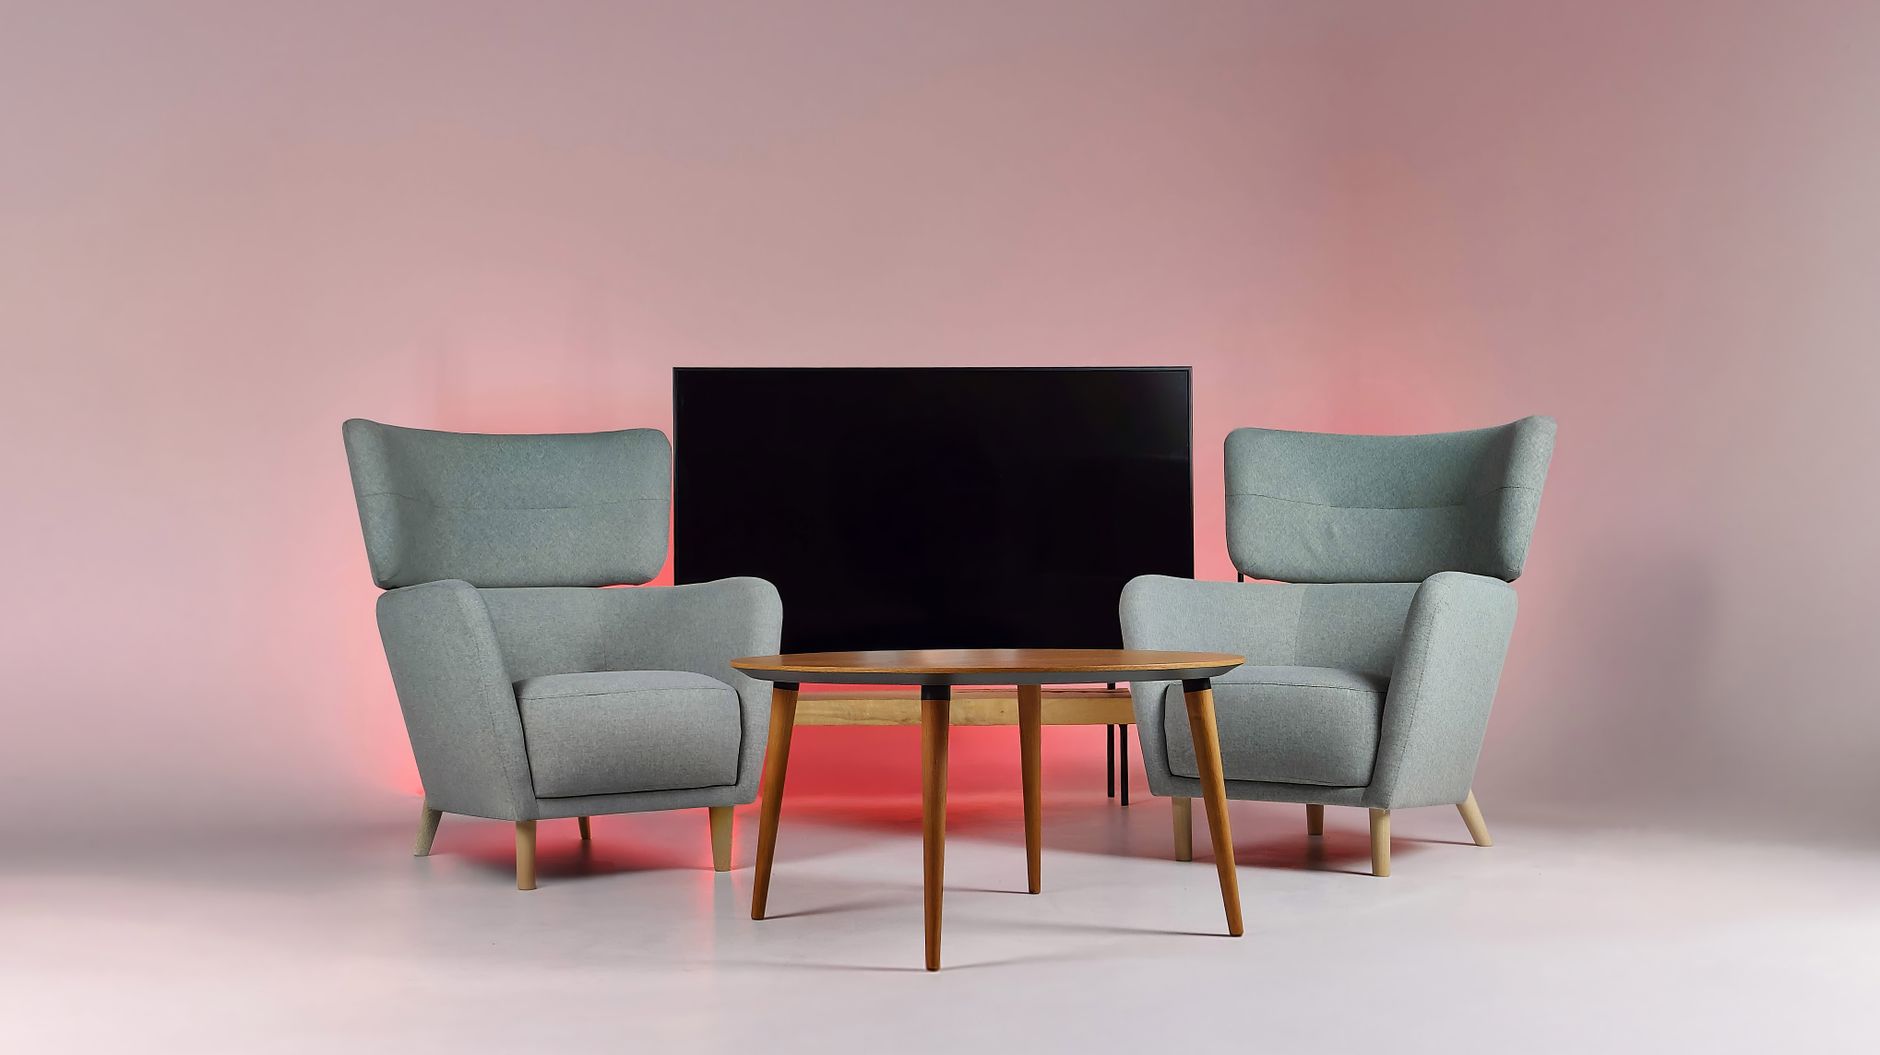
With Samsung and Philips both pushing ambient lighting as a flagship feature at CES 2026—and Netflix’s new “Adaptive Atmosphere” content experimenting with synced room lighting—bias lighting has officially moved from enthusiast niche to mainstream must-have. If you’re streaming 4+ hours nightly like the average cord cutter, your eyeballs are begging for relief. This smart TV ambient lighting setup guide cuts through the marketing hype and shows you exactly how to build an immersive, eye-friendly setup without spending Govee Immersion money.
Why Your Eyes Burn During Binge Sessions (And How Ambient Light Fixes It)
The science isn’t complicated. When your TV blasts 400+ nits into a dark room, your pupils dilate and contract constantly. That contrast fatigue creates the “Netflix headache” you’ve probably blamed on the wine.
Bias lighting—a soft light source behind your TV—raises the ambient brightness in your field of view. The Imaging Science Foundation (ISF) has recommended it for decades, and 2026’s Mini LED backlighting with 2,000+ dimming zones actually makes it more necessary, not less. Those extreme brightness swings are brutal.
Here’s what proper ambient lighting actually delivers:
- Reduced eye strain: 47% less pupil dilation fluctuation in ISF studies
- Better perceived contrast: Your brain interprets blacks as blacker with surrounding light
- Reduced blue light impact: Warm bias lighting offsets cool panel temperatures
- Room awareness: Less disorientation when you stand up after that Severance finale
The cord cutting angle? You’re already optimizing every subscription dollar. Spending $3,000 on a TV and streaming in a cave is like buying a sports car and never shifting past third.
Choosing Your Ambient Lighting Approach: Three Tiers
Not all smart TV ambient lighting is created equal. Your choice depends on budget, technical comfort, and how much you care about matching exactly what’s on screen.
Tier 1: Static Bias Lighting ($15-$40)
The baseline that still works. USB-powered LED strips behind your TV, set to a fixed 6500K color temperature (D65 standard).
Best picks for 2026:
- MediaLight Mk2 Flex: $35, ISF-certified, 6500K fixed, CRI 98
- Luminoodle Bias Lighting: $20, dimmable, slightly blue-tinted but decent
Setup tip: Mount strips 2-3 inches from the wall edge, not directly on the back panel. You want reflection off the wall, not visible LEDs. Power from your TV’s USB port for auto on/off, or use a smart plug with “TV on” automation in Home Assistant.
Tier 2: App-Controlled Color Zones ($60-$150)
Govee, Nanoleaf, and newcomer Matter-compatible Aqara Light Strip T2 now offer segmented color control without requiring video capture hardware.
What you get:
- Scheduled color temperatures (warm at night, cooler during day)
- Music sync for parties
- Basic scene matching through manual presets
The catch: No true video sync. You’re picking “Movie Night” purple and hoping it sort of matches. Fine for casual viewers, frustrating for film purists.
Tier 3: HDMI Sync Systems ($200-$400)
The full immersive experience. These systems read your video signal and match colors in real-time.
2026 landscape:
- Philips Hue Play HDMI Sync Box 8K: $350, supports 8K/60Hz, 10 zones, works with all major apps
- Govee AI Gaming Sync Box Kit 2: $200, 4K/120Hz, camera-free, but slightly laggy on 24fps content
- DIY HyperHDR + ESP32: $60, requires Raspberry Pi, total control, serious tinkerer territory
Critical note for cord cutters: HDMI sync boxes sit between your streaming device and TV. They must support HDCP 2.3 or you’ll get black screens from Netflix, Disney+, and Apple TV+. The 2026 Hue box finally does; early Govee models didn’t.
The 5-Step Smart TV Ambient Lighting Setup Guide
Here’s my tested workflow for a clean, automated install that won’t look like a dorm room.
Step 1: Measure Your Mounting Depth
Before buying anything, check your TV-to-wall distance.
- Wall-mounted with slim mount: 1-2 inches clearance → thin strips only, likely no sync box behind TV
- Articulating mount: 3-6 inches → room for sync box behind, easier cable management
- On furniture: Measure back panel to wall. You need 2+ inches for proper light diffusion
Step 2: Strip Placement for Even Diffusion
The goal is a “halo” of light, not visible dots.
For 55-65 inch TVs:
- Top and bottom: full width minus 4 inches each side
- Sides: full height minus 6 inches top and bottom
- Skip the corners—light overlap there creates hot spots
For 75+ inch TVs:
- Add a second strip parallel to the first, offset by 1 inch, for brightness uniformity
Step 3: Power and Smart Integration
USB power from TV = simple but limited. Your TV’s USB port may deliver inconsistent voltage, and it stays on during some “quick start” standby modes.
Better approach: Smart plug with power monitoring (TP-Link Kasa EP25, ~$15). Set automation: when plug detects >10W draw, trigger bias lighting on. When <5W for 2 minutes, lights off. This works across any TV brand and survives OS updates.
Step 4: HDMI Sync Box Configuration (Tier 3)
If you’re going full sync, placement matters enormously.
- Position: Within 18 inches of TV, line of sight to router (these are WiFi-hungry)
- EDID management: Set to “copy TV” not “fixed”—prevents resolution handshake failures
- Sync mode: “Video” for movies, “Game” for <30ms lag, “Music” for… never use this, it’s terrible
- Intensity: Start at 40%, adjust by content. Animation can handle 70%; dark dramas need 25% or it becomes distracting
Cord cutter specific: Some streaming apps (particularly Paramount+ and niche sports services) have weird HDCP chains. If you get intermittent black screens, add an HDCP stripper in the chain—legally gray, practically necessary.
Step 5: Calibration and Automation
Your eyes adapt. What looks “bright enough” at 9 PM will be blinding at 2 AM.
Automate this:
- Sunset to 11 PM: Full intensity, 6500K (or sync active)
- 11 PM to 2 AM: 50% intensity, shift to 4000K warmer
- After 2 AM: 25% intensity, 2700K, no sync (prevents sleep disruption)
Use Home Assistant, SmartThings, or even Hue’s native scheduling. The point is: never manually adjust after week one.
Common Mistakes That Ruin the Effect
I’ve troubleshot enough Reddit threads to know the failure modes:
- Too bright: Bias lighting should be 10-15% of your TV’s peak brightness. If you can read by it, it’s wrong.
- Wrong color temperature: 6500K is standard for SDR. HDR content often looks better with 5500K slightly warm. Never use RGB colors for static bias—it’s distracting and unscientific.
- Visible LEDs: If you see individual diodes, your diffusion distance is wrong. Add aluminum channel or move strips closer to wall edge.
- Sync lag over 100ms: Unwatchable. Test with white flash scenes. If light trails the image, your sync box can’t keep up with your source.
Building Toward Full Theater Automation
The endgame for cord cutters isn’t just ambient lighting—it’s contextual room states that trigger automatically.
My 2026 setup:
- “Movie Start”: Lights dim to 10% bias only, soundbar switches to cinema mode, phone DND activates
- “Intermission”: Bias to 50%, accent lights to 20% for snack navigation
- “Credits Roll”: 30-second fade to normal room lighting
This requires Home Assistant or similar, but the ambient lighting is the foundation. Without that controlled backlight layer, your automation has nothing to build upon.
Conclusion
This smart TV ambient lighting setup guide isn’t about chasing the latest RGB gimmick. It’s about protecting your vision during those inevitable 4-hour streaming marathons, while adding genuine immersion that makes your content investment feel worthwhile. Start with a $25 static strip if you’re skeptical. Once you experience a properly lit viewing session, going back to a dark room feels like staring into a flashlight. For cord cutters who’ve already optimized every subscription and streaming device, this is the overlooked upgrade that transforms how you actually watch.